
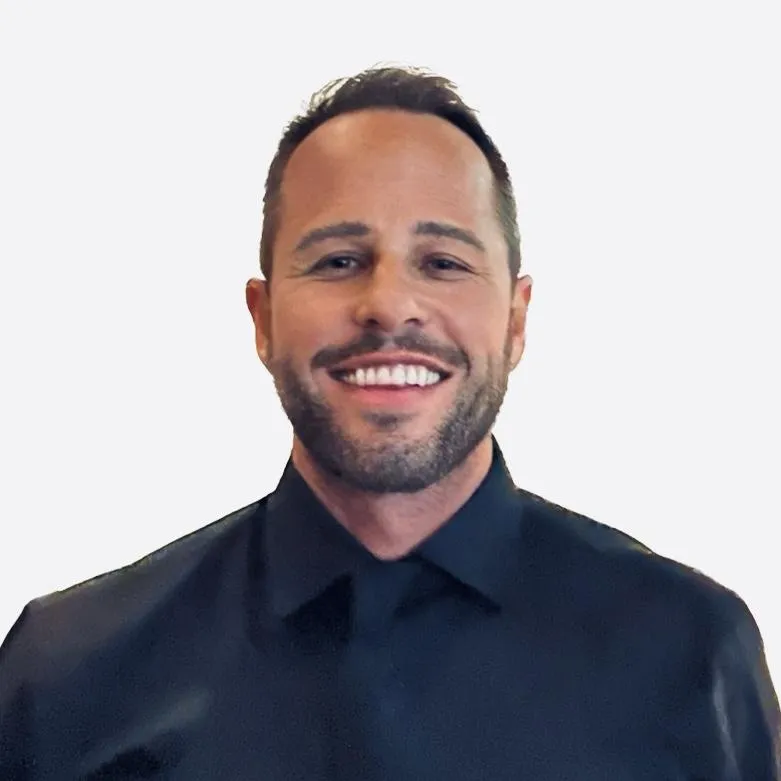
My name is Brian MacDonald.
Some know me as The Daddypreneur.
I'm a digital marketing coach who guides men on the simple steps to create 6 and 7 figure businesses that can be run from anywhere in the world.
I grew up in a small country town in Concord, California, where I learned the value of hard work, the importance of having connection to our natural world and the true meaning of what it means to be a free man.
There were no cheat codes. I had to get punched in the face for a decade to get here.
With all of the lessons I learned, my goal is to now guide my students toward building an abundant life.
WITH ALL OF THE LESSONS I LEARNED, MY GOAL IS TO NOW GUIDE EVERY FATHER I WORK WITH TOWARD BUILDING AN ABUNDANT LIFE.
ABOUT ME
I aim to change as many lives as possible online through helping people build digital assets.
I guide individuals worldwide, especially those living alone in a small town and seeking advice on business, mindset and health.
THE REAL WORLD IS YOUR WAY OUT
OUR STUDENTS DON'T RECEIVE
REPORT CARDS
THEY RECEIVE PAYCHECKS.
We have thousands of students who are earning enough money to travel and work from anywhere.
All thanks to our millionaire professors who teach them life changing business skills.
LEVEL UP IN THE WAR ROOM
AN ELITE GLOBAL NETWORK OF MEN LIKE NO OTHER.
LATEST VIDEOS
The Importance of Lifestyle Design When Starting a Business
The BEST Money Making Advice In 7 Minutes
THE FATHER'S
GUIDE TO ABUNDANCE

WEEKLY NEWSLETTER
Need help?
If you need to contact us at any moment, click the button below or contact my team at
We will write you back in less than 1 business day.

Sign up and learn how to supercharge your side hustle and become a high value man. Business models, cashflow methods, lifestyle design and more
- all in a 5-minute email.
© Copyright 2023. All Rights Reserved.